
Bessie's cat toys have been driving me nuts. For lack of a better solution, they've just been sitting around in something of a disorganized pile. I can't put them in a box or basket, you see, because Bessie, problem-child that she is, will chew on anything that has corners. Not with enough intention to actually damage anything or leave bite marks, just enough to make loud noises with her teeth that wake me up when she's gnawing on some bit of furniture at 4:00 AM to get my attention so I can wake up and feed her because SWEET MERCY HER BOWL IS HALF EMPTY, CALL FEMA, THIS IS AN EMERGENCY (I cannot emphasize enough to you that although she is my cat and I'm her person and I love her and all, she is a right pain in the ass most of the time). So that rules out most easily found storage solutions. Time to get creative. I decided that if I made a little box out of flexible foam it would keep the toys corralled but not be enticing to the Beast, since it wouldn't make any noise when chewed upon.
THE SUPPLIES

A glue gun, glue sticks, flexible foam sheets, spray adhesive, and cute fabric.
THE METHOD
First I decided on the size I wanted the little box to be. I ended up going with one and a half widths of the foam, because that would make it square, and squares are nicer than rectangles (to work with, I mean, not in terms of personality. This ain't no Flatlands reference). I just hot glued the piece-and-a-half together to make the square base. I also cut two more sheets in half to make the sides of the box.

Next I hot-glued the sides onto the base, trying to keep things nicely aligned and straightened but not worrying too much about it because a) I knew I was going to cover it in fabric anyway, which hides a lot of sins and b) it's a cat toy box, it doesn't need to be perfect. Perspective, folks.

Once the basic construction of the box was done, it was time to cover its hideousness with fabric. I traced around the base, then added a bit on each side so I could fold the extra on the sides over and glue them down to make nice edges. That way when I stuck all the pieces on the sides of the box down, extending the raw edges slightly onto the base, I could cover the raw edges with this one nice bottom piece. I also made a piece the same way to go on the bottom of the outside, just cuz.
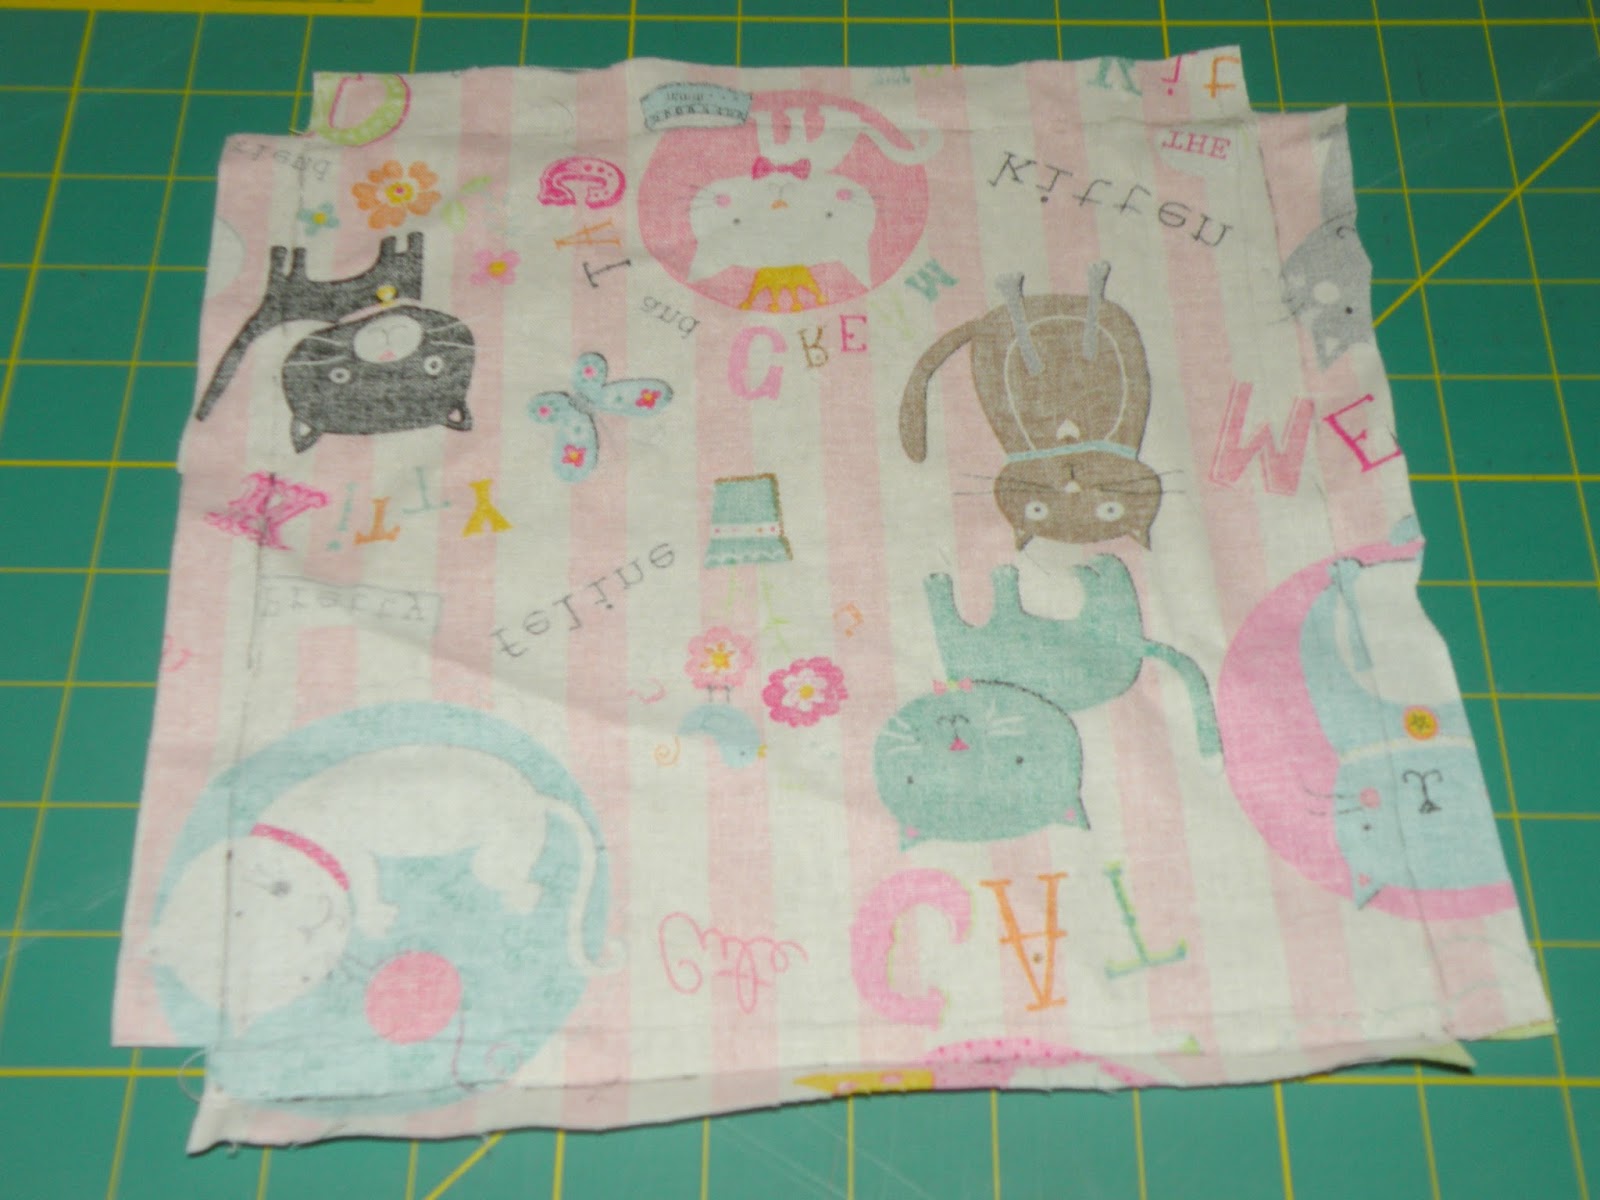
For the side pieces I cut rectangles twice the height of the sides so that I could cover both the inside and outside of each side with one sheet, and I added a little extra on each side of the rectangle for wiggle room, and so that I could wrap it underneath the inside and outside bottom pieces, concealing all the raw edges underneath the bottom pieces that I gave nice edges to earlier. Does that make sense? I hope it does. Anyway, once I had all the pieces prepared I stuck them on with spray adhesive, sticking the two sides opposite each other on first, then the other two sides on, folding the edges under so everything looks nice and finished. I came back in with the glue gun to fix any places that didn't fully adhere with just spray adhesive, like the folded corners. I burned myself quite badly on this part, so do be careful with hot glue, people. It's hot.

THE FINISHED PRODUCT
Finally all that was left was to pile in all the toys and slip the whole thing somewhere discreet. Next to my desk ended up being the winning location.

Aaaahh, much less messy. The one organized bone in my body breathes a sigh of relief (bones breathe and have personality traits, right? Is that a thing? That's a thing).


