

So let me show you how to make them!
First up, you'll need to cut out some pieces.
 |
Ruffle strips: The length of these would depend on the amount of ruffle action you want going on, but you'll probably want the strips to be at least twice the length of the front so you can get a respectable amount of frilliness goin'. To get them this long, I cut these strips out on folded fabric so I had two identical pieces for each ruffle strip, then sewed them together at one of the short sides to make looooong strips. At this point I also sewed down the long sides about 1/4 inch from each edge so that when I wash the shams the ruffles won't unravel too far, but will still get the frayed edge that is so popular in shabby chic styles (unfortunately in a lot of the stuff you can buy, they don't finish the edge at all, so if you wash it you might just pull a ball of fluff out of the dryer).
Back pieces: To get that overlap in the back of the sham that lets you fit the actual pillow inside, the back pieces will need to be a bit longer than the front piece. First, measure your front piece and divide its length in half. Then you can either add 3 inches to both sides OR, if you feel like making things complicated like I did, you can add 2 inches to one side and 4 to the other (which, to be fair, is how most shams are made: one side longer than the other to make cramming your pillows in easier). Either way, once you've found the right length, cut out your back pieces and hem the edges that will form the sham opening.
Next up comes the ruffling! I know some people are intimidated by the idea of ruffling, thinking you need a special foot for your sewing machine or something, but nah, screw that noise. We're doing this old school. All you need to do is set your sewing machine to a nice long stitch length and sew right down the middle of each ruffle. Then grab the bobbin thread (I actually used a white bobbin and pink thread on top, which made it easy) and gradually work the fabric down the thread until you achieve your desired level of ruffle-tude. It's kind of a pain at first, but once you get into a groove it goes quickly. Just don't get too handsy and break your thread.

Then sew the ruffles onto the front piece in whatever configuration your heart desires. All you need to do for this is pin them in place, then hold the ruffles flat on each side of the presser foot as you sew straight down the middle of the ruffle.
 |
| Always a cat in my process pictures, never the same cat twice. |
Then it's time to sew the back pieces to the front! This is my favorite part of any project: the part where it starts to look like the object it's supposed to look like. My least favorite part is the bit about 20 minutes in where I start to second-guess myself and want to cry because surely I have somehow ALREADY RUINED EVERYTHING. I have sewing anxiety. I'm working on it. Anyway, pin the pieces in their proper configuration, right sides together...
 |
| Not sure what my excuse is for the quality of these pictures today. They were taken at night, so that accounts for the less-than-stellar lighting, but I'm not sure why this one, for example, is making me seasick right now. I started to try to straighten it a bit in photoshop, but I think this thing was taken by M.C. Escher or some shit. And I think he was drunk. |
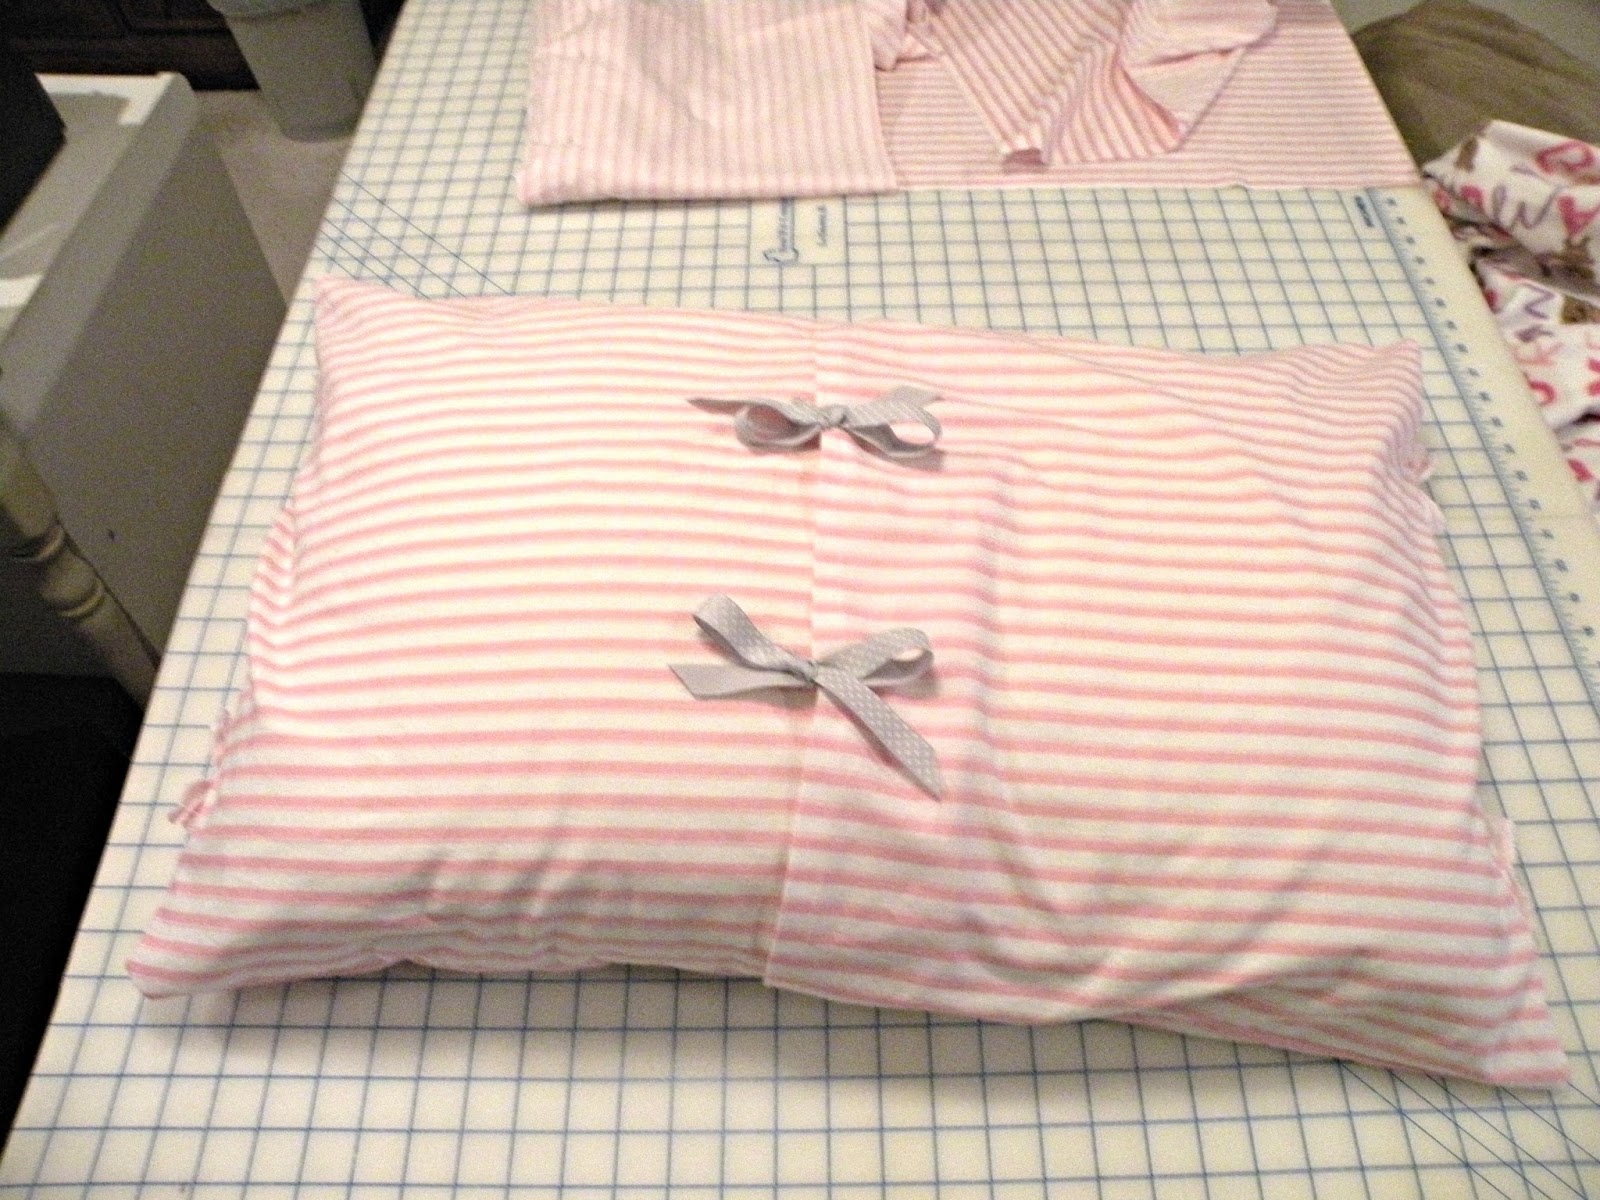
Then sew all the way around and turn it rightsies outsies to reveal your lovely pillow sham! I decided to add some ribbon ties to the back, more for looks than actual function. I just sewed one piece of ribbon to each side of the pocket, then tied 'em up all pretty (lies, my mom tied them up all pretty. When I try to make nice bows they end up looking like a kindergartener tied them, then Death himself came along and tried to fix them but when he touched the bows they got even wiltier and sadder).
Then floof it up and put it in a place of prominence and pride to take a picture and pretend like you're not in fact going to put your nice pretty shams behind the one gross but super-comfy pillow you drool all over every night!

Sweet dreams!
No comments:
Post a Comment